You have no items in your shopping cart.
How to apply Epoxy Resin
 Epoxy Resin is well known for its incredible adhesive abilities, but it can also give your project a beautiful finish; often mimicking the appearance of water or glass. Often times, epoxy resin is used in jewellery, miniature items like cups, glasses or lakes—or whenever a water-like appearance is needed. As you can find epoxy in countless drying times, transparency and tints, the final product can take on a clear glassy finish, if it is applied properly.
Before You Begin Applying Epoxy Resin
It’s important to understand that while epoxy resin is an easy to use product, simple precautions need to be taken to ensure your experience is a safe one. Never use epoxy resin without proper hand protection, like latex gloves. As epoxy can dry rather quickly, it’s important to only mix as much resin and hardener as you will use in 10 minutes. This is to ensure the product maintains the proper viscosity and maintains adequate penetration.
Proper Materials for Epoxy Resin
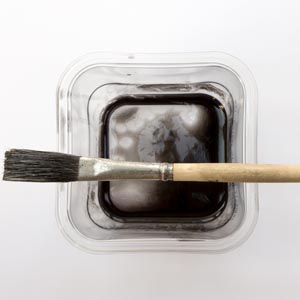
Generally speaking, foam roller brushes work best at applying epoxy products. This is due to the uneven application that can sometimes occur with bristle brushes. Many times, the bristles can be weighed down with product, leaving an uneven coat – requiring more sanding times in between applications.
Always be sure to follow the manufacturer’s instructions for mixing the epoxy resin and hardener.
Applying the Epoxy Resin
Start by applying a uniform coat of the activated resin with the foam roller. Try to maintain long strokes, but don’t attempt to cover areas that are too large. The coating should be thin, even and uniform. The surface should serve as a base coat and seeing a slightly rippled surface is okay – as you will lightly sand this down between layers.
Some wood surfaces are more absorbent than others; take the time to ensure that an additional layer is added to any “dry” appearing areas. Inspect the area 15 minutes after the initial application. You may see small bubbles forming at the surface, which is normal and expected. Once the initial coat has had a chance to set, take the time to fill any cracks, gauges or nicks in the surface.
Sanding the First Coat of Epoxy Resin
Using a hand block sander, take care to remove a light surface layer of the epoxy resin. Do not attempt to use power tools as this will remove too much epoxy. It is CRITICAL that you always use a dust mask when sanding.
Applying the Second (and Subsequent) Coats
Ideally, the second coat should be applied as soon as possible, to prevent any contamination. Once the second coat has been applied, take the time to smooth out the top applications with the roller brush to limit any marking or uneven application. Generally, two to three coats of epoxy resin should be applied to a product; although more can be applied, if desired. After the second coat has been applied, no further sanding between coats is required. Simply allow the layers to dry between reapplication.


